How to Make a Photo Calendar Online, Step by Step
When you make a photo calendar online, the layout is the quick part. Photo9’s AI can place your photos on the cover and all twelve months in seconds. The choices that decide whether you still like it in August come before and after that: which format suits the wall, which photos suit the format, and which dates belong on the page.
This guide takes you through those choices in seven steps. Most of them take a minute or two, and the first three save you the most work later.
What to Have Ready Before You Start
At least 13 photos: one for the cover and one for each month. Having 20 to 30 gives you room to swap.
A list of dates: birthdays, anniversaries and anything else that should be printed on its day.
The first month: most calendars start in January, but yours can start in any month.
Use the original files if you can. A photo sent through a group chat is often a smaller copy, and it may no longer carry the date it was taken. If your photos are all on your phone, these tips on printing photos from a phone also apply here.
Step 1: Choose a Format for the Place It Will Hang
Start with where the calendar will go, and whether people will write on it. A calendar in the kitchen does a different job from one in a hallway.
Format | Size | Works well for |
|---|---|---|
Portrait | A4 (21 × 29.7 cm), or Letter in the US and Canada | Most homes, and gifts |
Large portrait | A3 (29.7 × 42 cm), or Ledger | A big wall, or dates you want to read from across the room |
Landscape | A4 landscape (29.7 × 21 cm), or Letter landscape | A space above a desk, with the photo and the month side by side |
Square | 21 × 21 cm, or 8.5 × 8.5 in | Small spaces and a lighter, more decorative look |
Slim planner | 14.8 × 40 cm, or 5.5 × 16.5 in | A narrow strip of wall, and a busy household’s appointments |
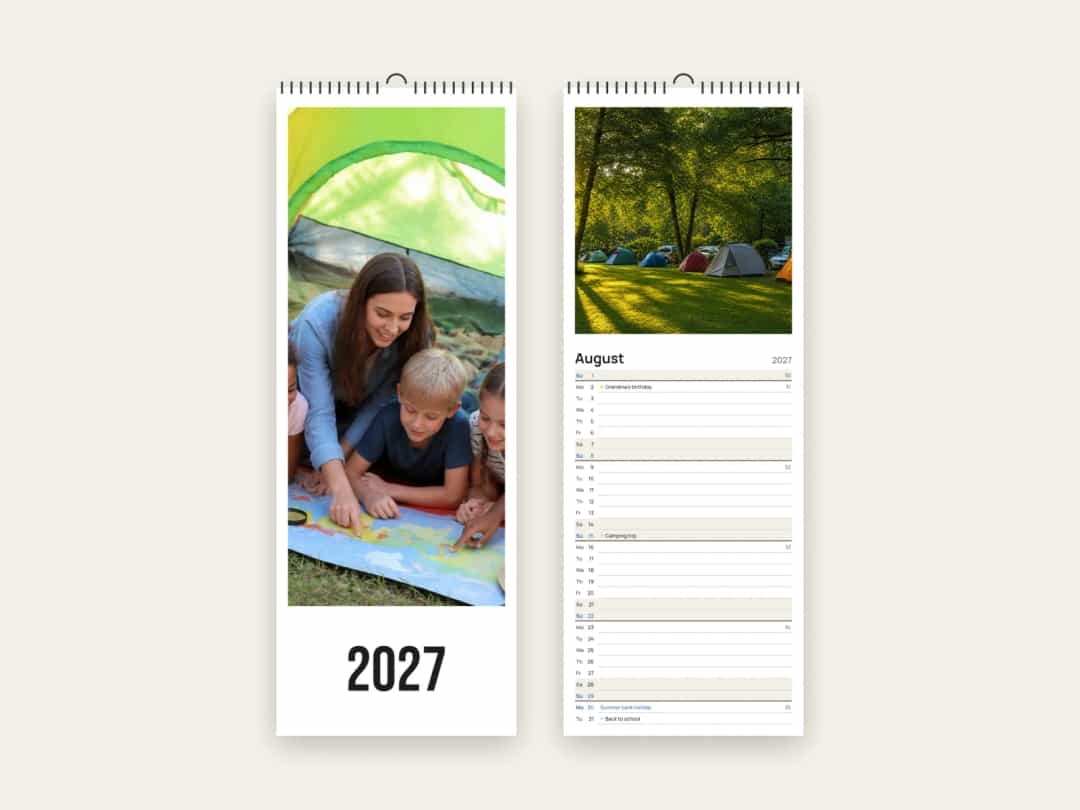
The slim planner is the most practical choice for a family. Its days run down the page, one per row, with a line beside each to write on and the weekends lightly shaded.
Step 2: Match Your Photos to the Shape of the Page
This is the step people tend to skip, and it decides how much of each photo you keep. The space for the photo changes with the format, and it isn’t always the shape you would expect.
Format and page style | Space for the photo | Photos that suit it |
|---|---|---|
Portrait, photo above the month | A little wider than square | Most photos, though upright ones lose some of the top and bottom |
Portrait, full-page photo | The whole upright page | Upright photos with the subject in the upper part |
Landscape, photo beside the month | Upright | Upright phone photos; wide views lose their sides |
Square, photo above the month | A wide band, nearly twice as wide as tall | Landscapes and group shots taken from further back |
Slim planner | About square | Simple subjects with space around them |
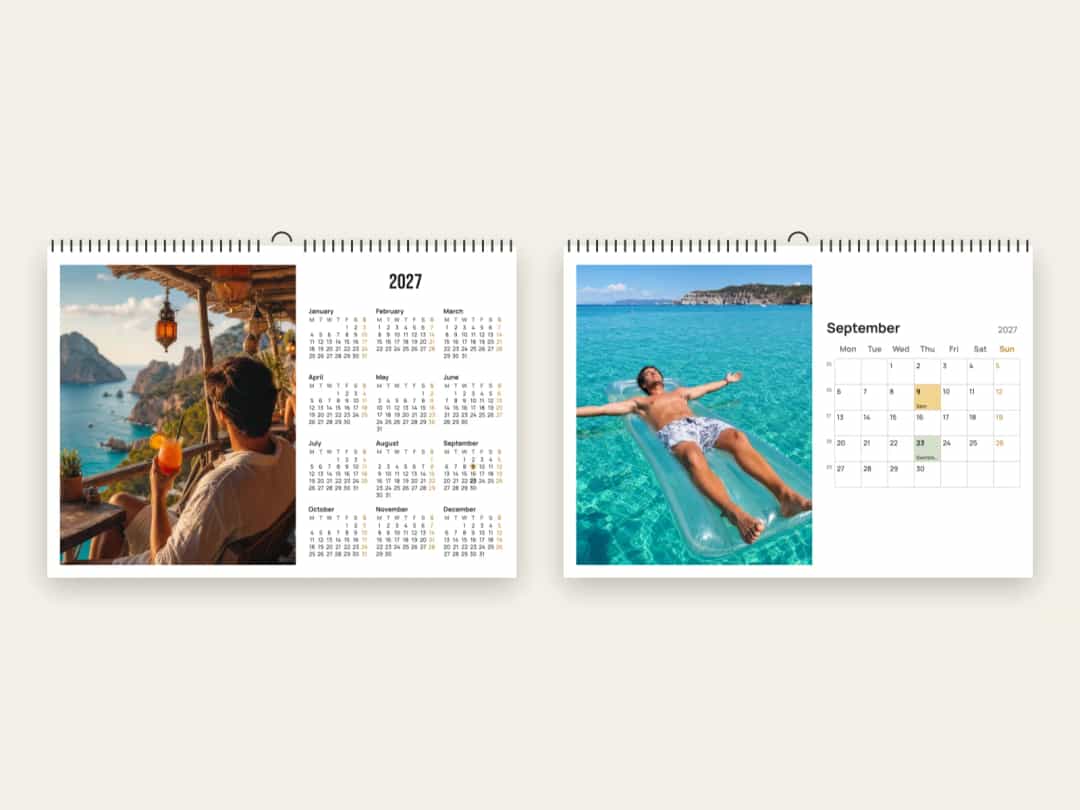
Two results surprise people. A landscape calendar has an upright photo space, so it suits phone photos held the normal way. A square calendar is the reverse: its photo space is wide, so a close portrait taken upright loses most of its height.
Full-page photos need more care
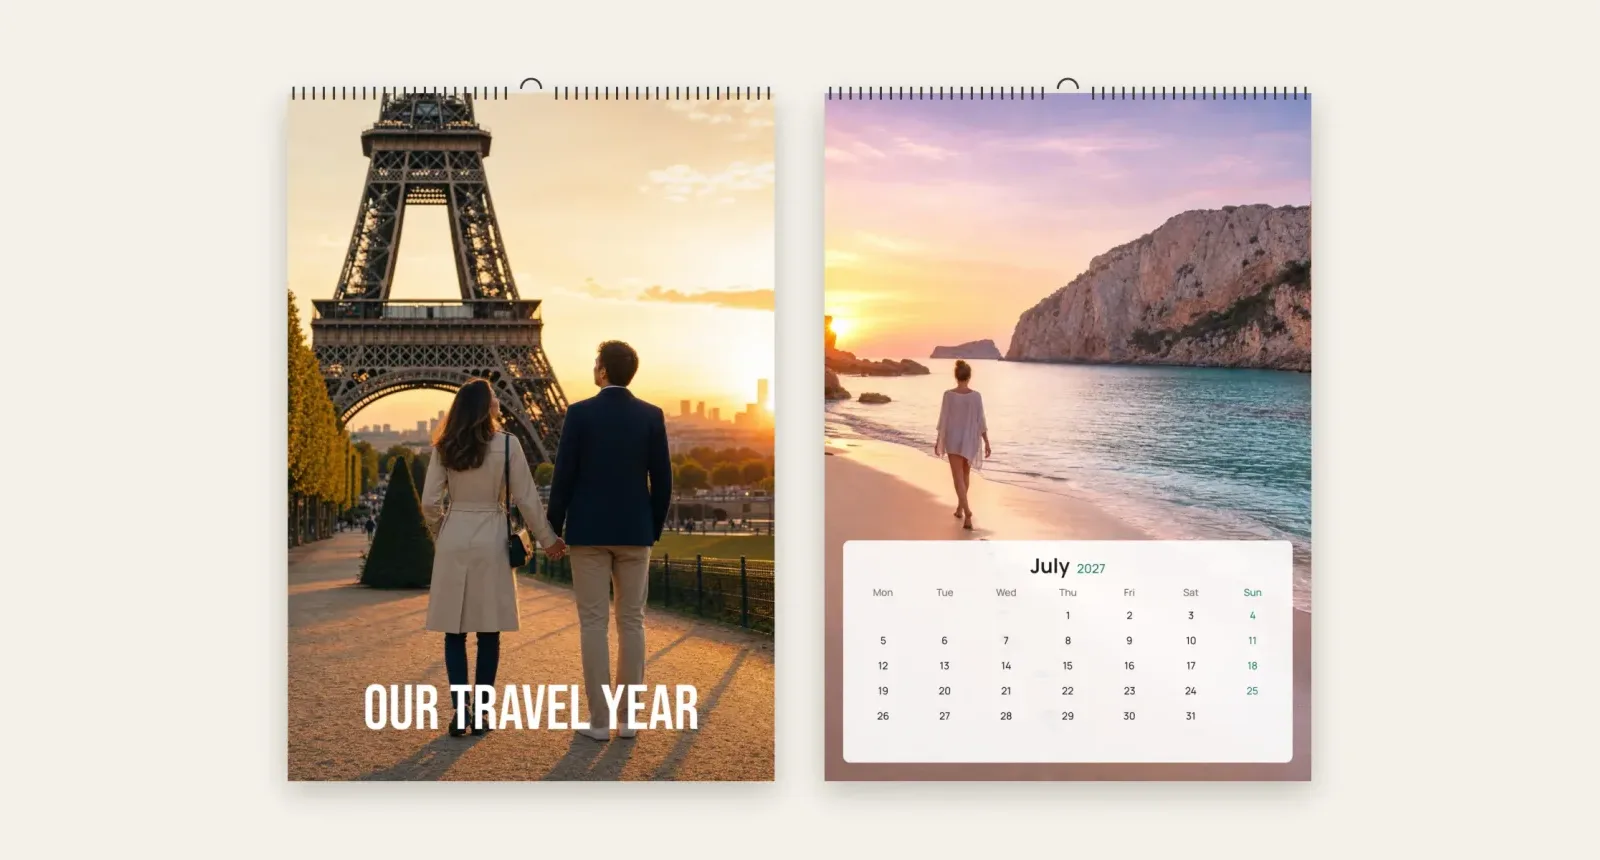
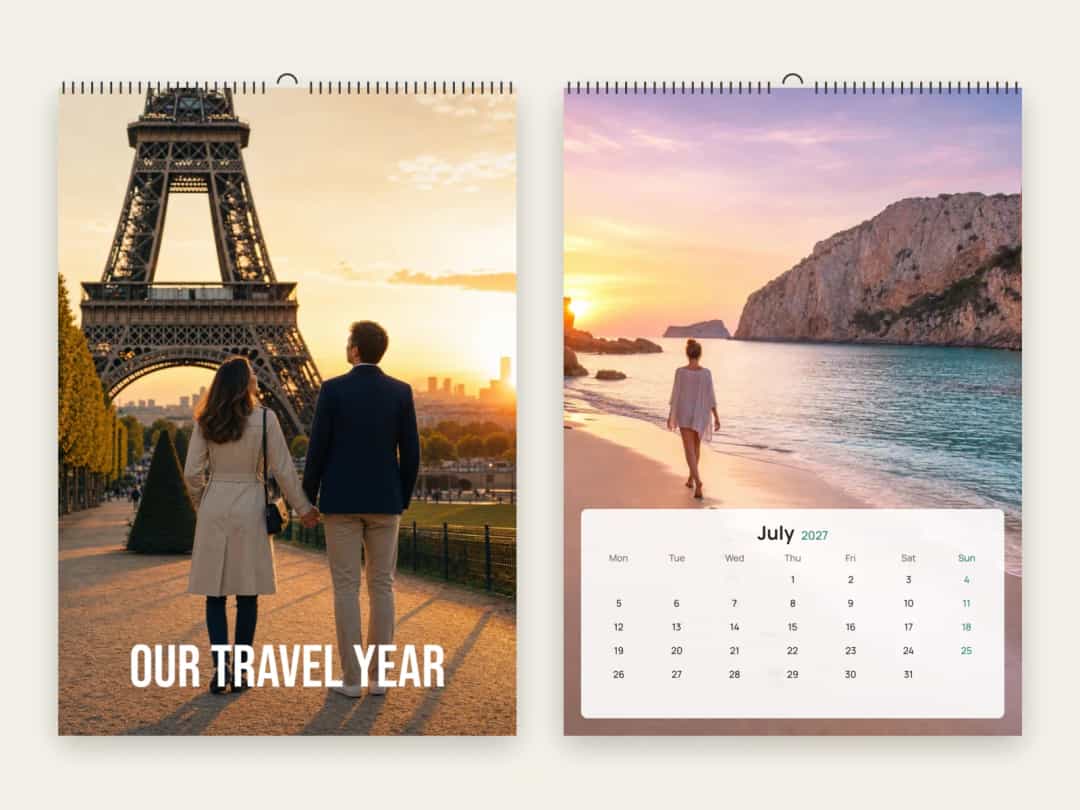
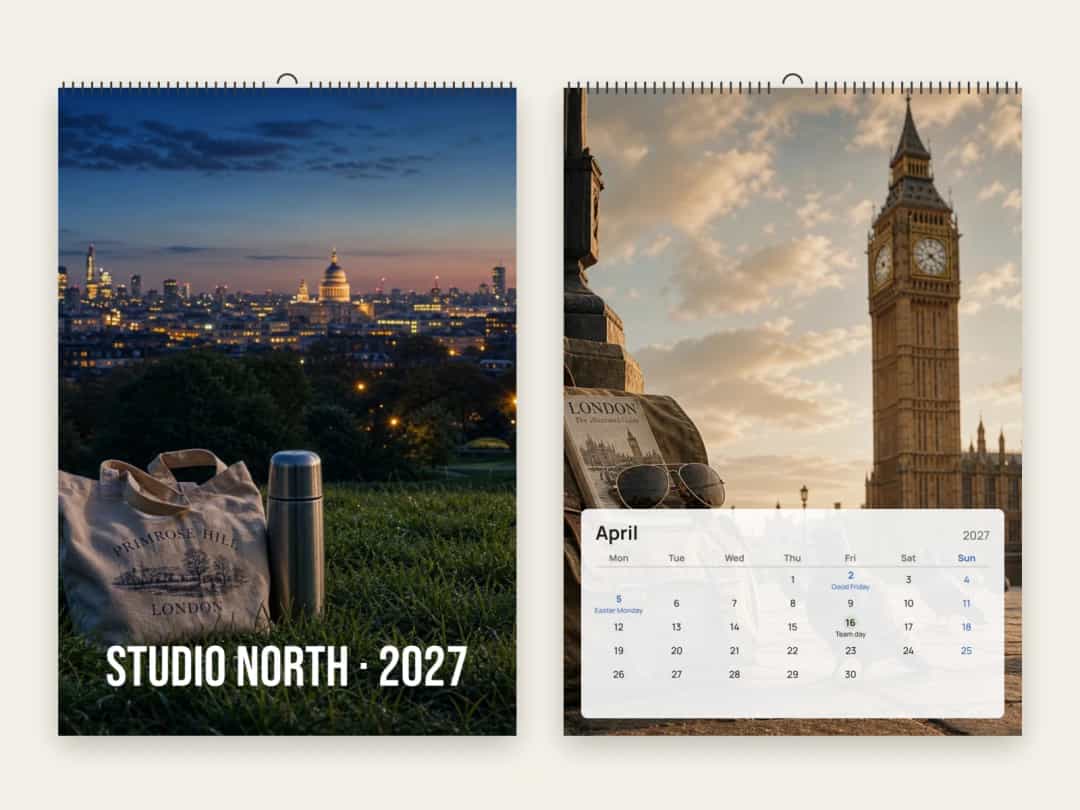
On a portrait calendar with full-page photos, the month sits on a light panel across roughly the lower third of the page, and the hanger hole sits at the top. Choose photos with the main subject in the middle or upper part of the frame, and with faces clear of the top 12 mm or so. A skyline with an empty foreground works well. A group standing at the bottom of the frame doesn’t.
How large your photos need to be
A useful rule of thumb is about 200 pixels per inch of print. The month photo on an A4 calendar is about 19 cm wide, so roughly 1,500 pixels across will do. A full-page photo on an A3 calendar needs about 2,300 × 3,300 pixels. A recent phone photo has enough for either, as long as you haven’t cropped it heavily or saved a smaller copy.
Step 3: Decide Whether the Photos Should Follow the Seasons
Snow in January and the beach in July feel right on the wall, but they can take a while to arrange by hand. When you upload, Photo9 looks at the date each photo was taken and uses it to fill the months. You can also press Sort photos by month under Dates in the editor at any time.
Only the month counts, not the year, so last year’s photos can fill next year’s calendar. If a photo has lost its date, as forwarded photos often have, you can still place it by hand.
You don’t have to follow the seasons at all. A calendar gift for grandparents can use each month for a different grandchild or family story instead.
You can also choose how many photos each month gets. One large photo is the easiest to enjoy from across a room, while a small collage suits a month with a big event. Keep the number low so that faces stay readable, and fill every month: a month you leave empty prints with an empty space.
If you want help planning months, dates and layouts first, you can also make a photo calendar with AI and ChatGPT.
Step 4: Set the Year, the First Month and the Week
These settings take seconds and sit under Dates in the editor. They’re worth checking, because the printed grid can’t be changed afterwards.
Year and first month: a calendar that starts in September runs to August of the next year, which suits a school year. You can change this later in the editor and your photos stay where they are.
First day of the week: the calendar follows your country, with Sunday in the US and Canada and Monday elsewhere, and you can switch it.
Week numbers: these are on by default in countries that plan by them, such as the Netherlands and Germany, and you can turn them on or off anywhere.
Language: month and day names follow the language you design in: English, Dutch, German, French, Italian or Spanish.
If the calendar is a gift for someone abroad, design it in their language so the months are printed in words they use every day.
Step 5: Add Birthdays, Anniversaries and Public Holidays
This is what separates a custom photo calendar from a pretty one. Open Dates in the editor and you can add up to 60 of your own dates, each with a short name of up to 24 characters. Each one is printed on its day.
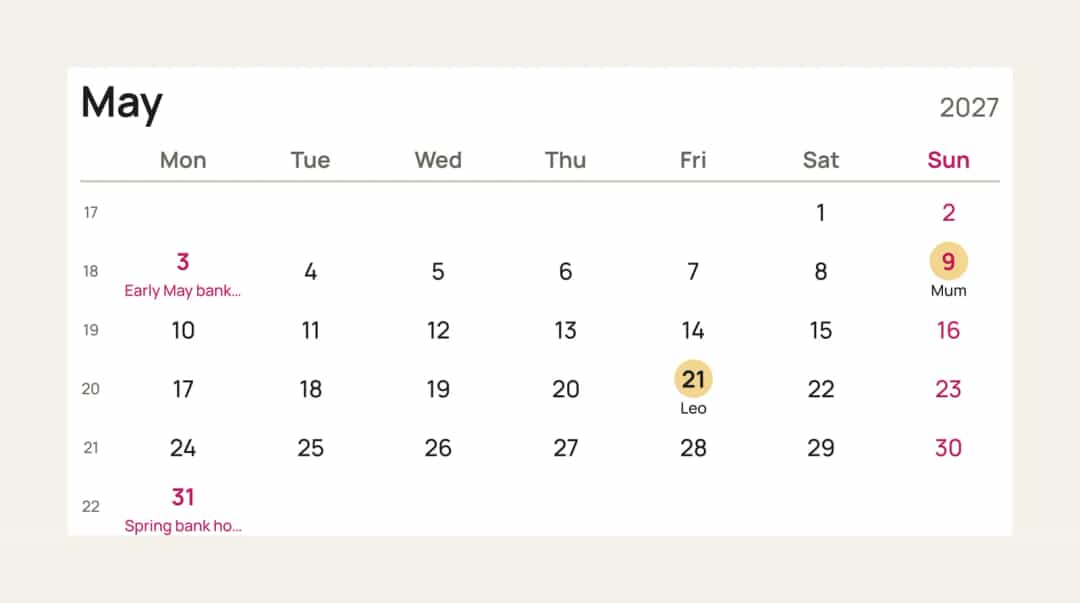
Public holidays are chosen by country and, where it matters, by region, because holidays can differ within a country. England and Scotland, or two German states, don’t share the same list.
Three small things help:
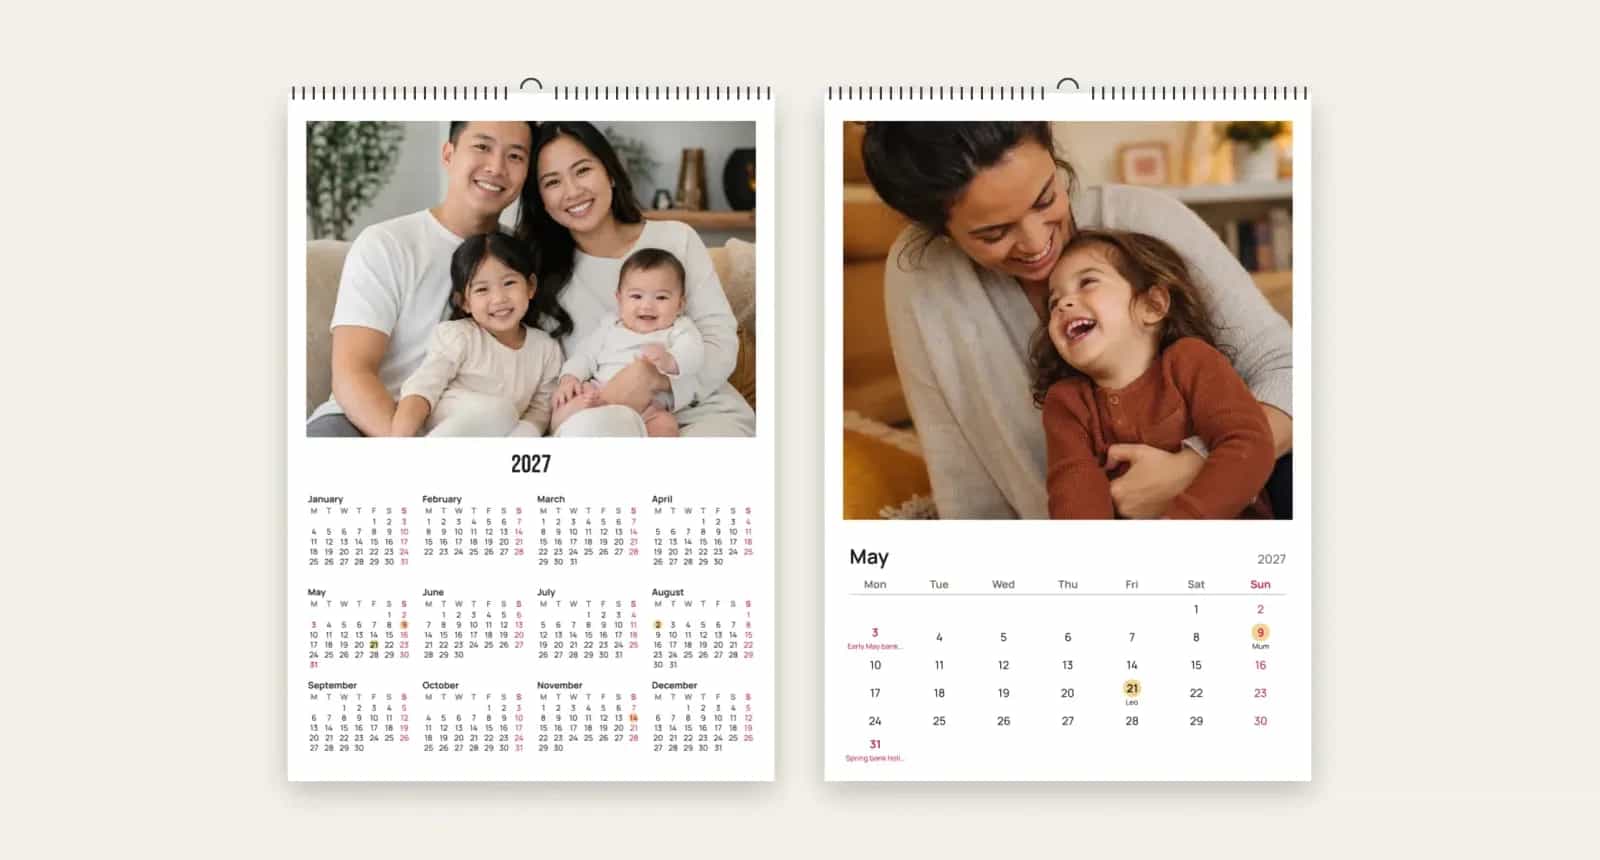
Keep names short. “Mum” fits in a day’s square, while “Mum’s birthday dinner” gets shortened on smaller calendars, as the bank holidays in the picture above do.
Use the recipient’s country. If you live in Germany and the calendar is going to your sister in Spain, she needs Spanish holidays, not yours.
Add each date only once. A date is printed on its day in every year the calendar covers, so a calendar from September to August still needs each birthday added just once.
Step 6: Pick a Look and Keep It the Same All Year
A calendar reads as one object, so a single style across all twelve months works better than a different idea on every page. Start from a ready-made look, or set these yourself:
If it’s for | Try |
|---|---|
Planning family life | The slim planner, or boxes to write in with week numbers |
A gift for grandparents | A4 or A3 with the photo above the month and a classic grid, which is easy to read |
Your travels | Full-page photos with a minimal grid |
A couple | A square calendar with the elegant style and your anniversary marked |
A company | The company cover, with your logo and website at the foot of every month |
The cover can also do a job of its own. Year at a glance prints all twelve months beside or under the photo, so the cover is useful as well as attractive.
For colour, the shade used for Sundays and holidays can be picked from your own photos, so it matches them without any effort. You can also change the paper tone, or turn every photo black and white, which is a simple way to make a mixed set of photos look like they belong together.
Step 7: Check It Before You Order
A calendar has more small facts on it than most things you print, and any mistake stays on the wall for a month or a year. Go through these before you pay:
Names and dates: read every personal date against your list, and check the spelling.
The year: check it on the cover and on the first month. A title you typed yourself won’t change if you change the year later.
The hanger hole: the editor marks the band at the top of each page, so keep faces and words below it.
Crops: look at every month for cut-off heads, especially after you change format.
Empty months: make sure none are left without a photo.
The whole calendar: flip through the 3D preview to see it the way it will hang.
Paper, Binding and Delivery
A Photo9 calendar has a cover and twelve months, each on its own page and printed on one side. The paper is 250 g silk (100 lb cover in the US and Canada), printed in full colour. A wire binding along the top ends in a hook, so it hangs from a single nail or pin.
Calendars are printed near you where possible. Standard delivery takes about one to two weeks in most countries, and the calendar page shows the estimate for your country. For Christmas, ordering in November is the safe choice, as post gets slower in December. If you’re making several gifts at once, these personalised Christmas photo gift ideas may help.
Ready to Start?
The fastest way is to pick your format, upload your photos and let the AI build a first version. You can then fix the crops, add your dates and choose a look in the browser, with no app to install. Create a photo calendar with Photo9 and see how your year looks.
FAQ
How do I make a photo calendar online?
Choose a format, upload your photos and let the editor fill the cover and months. Then set the year and first month, add your dates and holidays, choose a look, and check every page in the preview before you order.
How many photos do I need for a photo wall calendar?
You need 13 for the classic version: one for the cover and one per month. You’ll need more if you want collages on some months, and a few spares make it easier to replace a photo that doesn’t crop well.
What is the best photo calendar size?
The best photo calendar is the one that suits where it will hang. A4 or Letter works for most homes and gifts, A3 or Ledger suits a large wall, and the slim planner is the most useful if you want to write appointments on it.
Can a personalised photo calendar start in any month?
Yes. You choose the year and the first month, and the calendar runs for twelve months from there. A calendar that starts in September ends in August of the next year.
Can I add birthdays and public holidays?
Yes. You can add up to 60 dates of your own, and choose public holidays by country and region. Short names fit best, because longer ones are shortened on smaller calendars.