Custom Postcards From Your Travel Photos: How to Make Them
A rack of postcards in a gift shop gives you the same view everybody else got. A postcard made from your own holiday photo shows the café you found by accident, the terrible weather on the walk, or your children doing something unwise on a beach. It’s also more fun to receive.
Custom postcards are easy to make, but they need a little planning. They come in packs, you can’t fit much on them, and the back has a job to do too. Here’s how to go from a phone full of holiday photos to a stack of cards ready to send.
How Custom Postcards Work
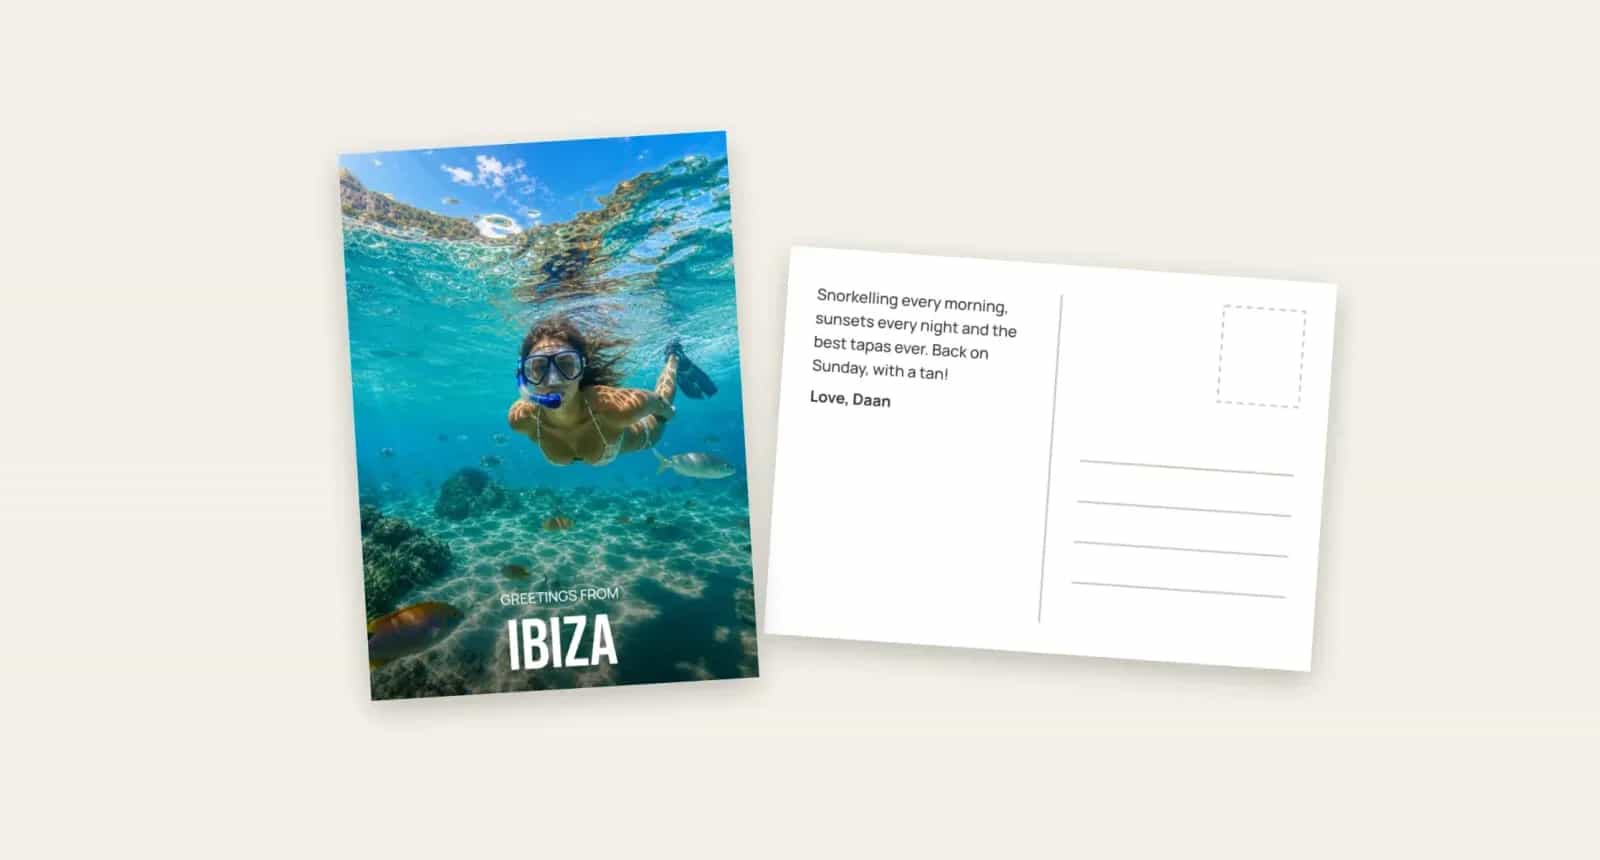
Photo9 postcards come in packs of ten, all printed from the same design. The front carries your photo, or a small collage. The back is ready to write on, with a light divider and address lines, or you can leave it blank. If you’d like more than one design, make a second one and order it as its own pack.
This affects when you make them. Few people want to order cards and wait for a delivery during a holiday, so there are two good ways to use them:
After the trip: send your thanks, or a “wish you’d been there” to the people who’d enjoy it. Keep the rest for notes through the year.
Before the trip: use a photo from an earlier visit, or of a place you love, and take a pack with you.
They also suit other things: a change of address, a save-the-date, or a thank-you after a party.
Choose a Photo That Works Small
A postcard is small, so the photo needs to be clear at a glance. Good travel postcards tend to share a few traits:
One clear subject: a single building, a beach, or two people at a table.
Strong colour or light: clear water, an orange sunset or a bright door stands out.
A simple background: a busy market scene turns into visual noise at this size.
A sense of place: a recognisable landmark or typical street lets the picture tell people where you were.
Your funniest picture may also be better than your best one. A blurry shot of everybody laughing often means more to the person receiving it than a perfect view of the sea.
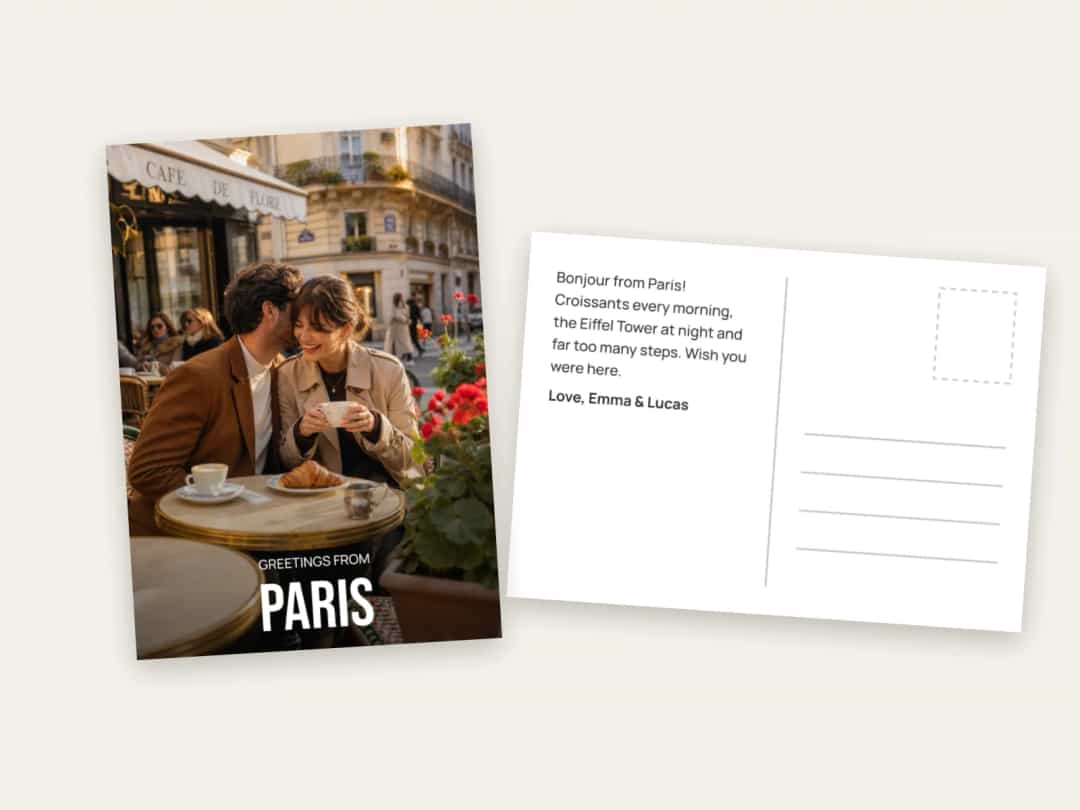
Design the Front
Greetings from the place
The classic postcard format still works: a big photo with “Greetings from” and the place name in large letters. It reads straight away and it looks deliberate rather than just a printed photo.
Put the words on a calm or dark part of the picture, such as the sky or the shadow at the bottom. If that’s not possible, a plain band below the photo works just as well.
One photo or a collage?
A single photo is almost always stronger at A6. If you do want to show more of the trip, stick to three or four photos and consider a larger size. On a small card, a collage of six photos means six small pictures that are hard to make out.
Front design | Works best for |
|---|---|
One big photo with the place name | Holidays, weekends away and city trips |
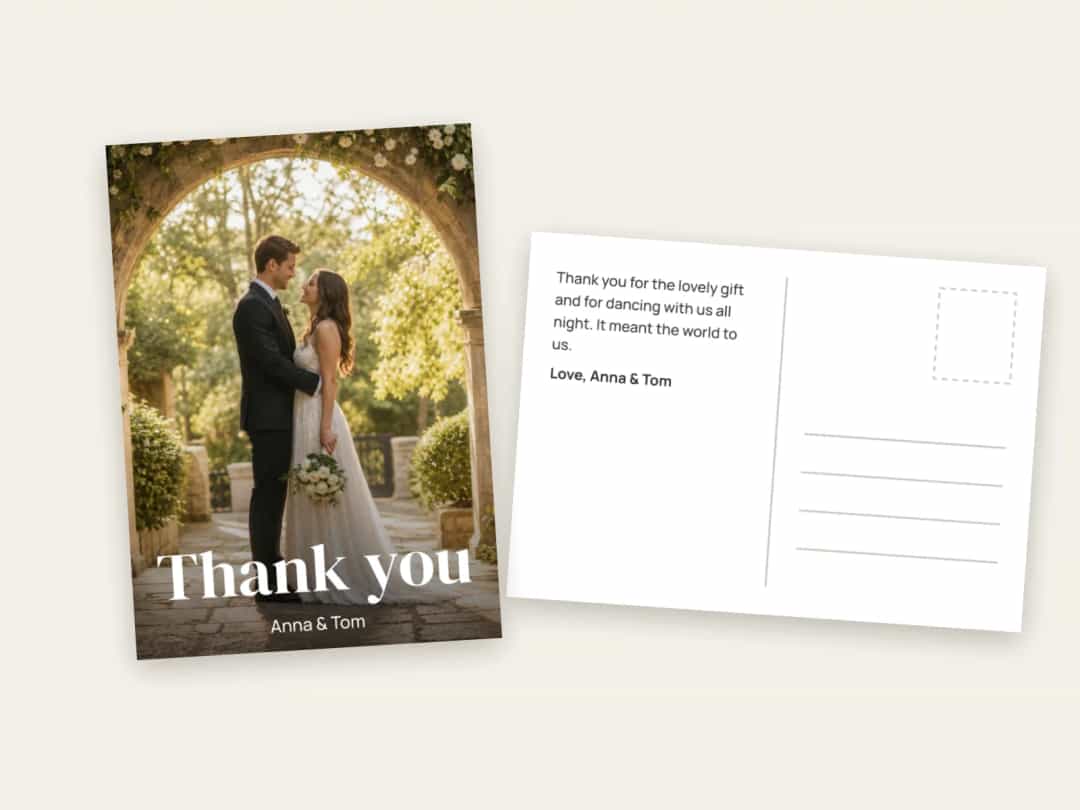
A photo with a white band and a short line | Thank-yous, birthdays and season’s greetings |
A photo collage | A long trip, on A5 rather than A6 |
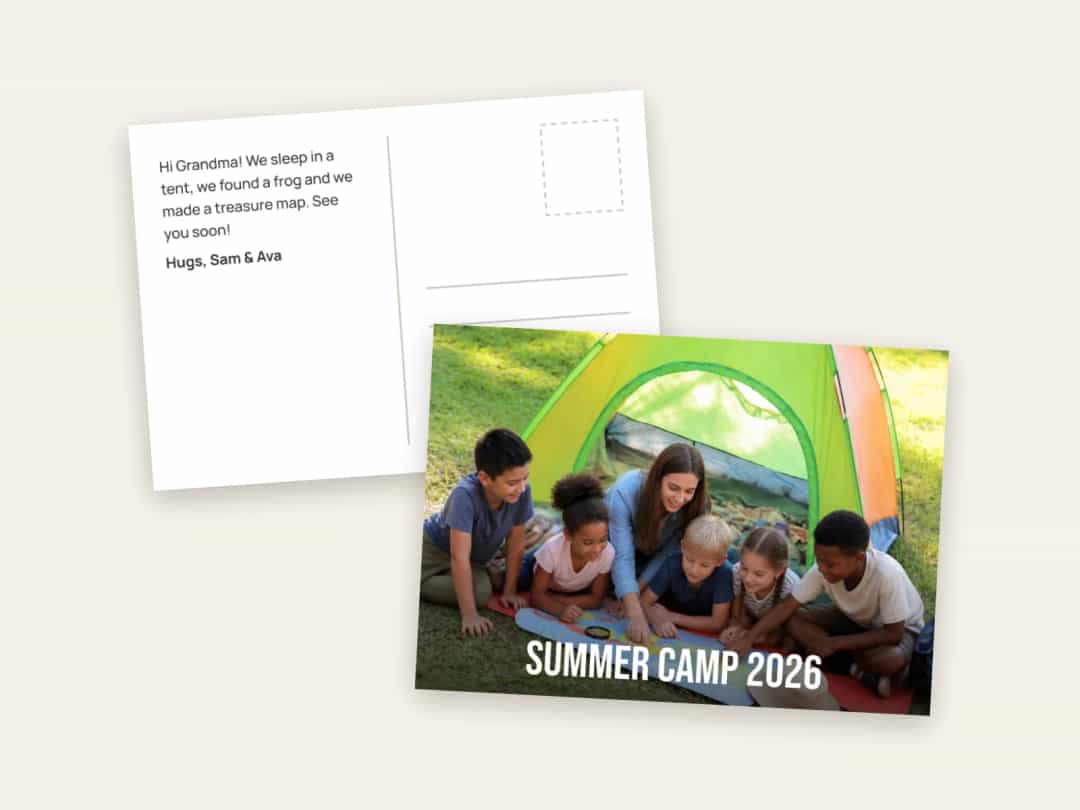
Family photo with a name and year | Summer camp, a family holiday or a reunion |
Don’t Forget the Back
The back is made for writing. It’s never coated, so any pen works, even if you choose glossy paper for the front. It has a light divider and address lines, or you can leave it blank if you’re sending the cards in envelopes.
You can also type a message in the editor to be printed on every card, which is useful for a thank-you or an announcement. Because every card in a pack is the same, keep any printed message general, and add a personal line by hand. A scribbled “you would have hated the boat” is what makes a postcard yours.
Choose the Size, Corners and Paper
Size | Dimensions | Good for |
|---|---|---|
A6, or 4.25 × 5.5 in | 10.5 × 14.8 cm | Standard postcards you plan to post |
A5, or 5.5 × 8.5 in | 14.8 × 21 cm | Bigger photos and small collages |
DL | 9.9 × 21 cm | Wide panoramas and skylines |
Square | 14.1 cm, or 5.25 in | A more modern look |
In the US and Canada, 5 × 7 in is another option. Check the page for the sizes and prices in your country.
Posting: A6 and 4.25 × 5.5 in are standard postcard sizes. Larger and square cards can cost more to post, so check with your postal service before you buy a lot of stamps.
Corners: you can have square or rounded corners. Rounded corners are cut with an 8 mm radius, and the editor shades them so you can keep text and faces clear.
Paper: glossy paper makes colours stand out, which suits a holiday photo. Matt feels softer and doesn’t reflect the light. Only the photo side has the finish, so you can still write on the back.
Envelopes: you can add standard white or heavier premium envelopes, or skip them altogether. Without an envelope, your message can be read by anyone handling the card, which is half the charm of a postcard. If that’s a problem, add the envelopes.
If you’d rather send something folded with room inside, our guide to greeting cards with your photo and message can help.
Ideas Beyond the Holiday Itself
A thank-you for the people who hosted you: a photo from the visit and a printed thank-you, with a personal line added.
A season’s greeting: a simple alternative to a folded Christmas card.
A summer camp card: a group photo for the children to send to their grandparents.
A birthday note: one photo and a short message, with no envelope needed.
If your trip deserves more than ten small cards, turn the rest of your photos into a travel photo book. You’ll find more ideas in this article on making a photo book after a trip.
Before You Order
Spelling: check place names and people’s names.
Rounded corners: if you chose them, make sure nothing important falls in the shaded corners.
Stamps: check the postage if your cards aren’t a standard size.
The back: decide between address lines and a blank back.
Quantity: remember that a pack is ten cards.
The delivery time for your country is shown before you pay.
Make Your Postcards
Pick a photo or a few, and the AI designs the front in seconds. Then choose the size, corners and paper. Create your custom postcards with Photo9 online, with no app to install.
FAQ
How do I make postcards from my own photos?
Choose a size, upload your photo and let the editor lay out the front. Add a place name or short greeting, choose whether the back has address lines, pick your paper and corners, and check the preview before you order.
How many custom postcards are in a pack?
Ten, all printed from the same design. For a different design, make a second design and order it as its own pack.
Can I write on photo postcards with any pen?
Yes. The back is never coated. Even with glossy paper, only the photo side is glossy, so any pen works.
Can I send my postcards by post?
Yes, with a stamp. A6 and 4.25 × 5.5 in are standard postcard sizes. Larger cards can cost more to post, so check with your postal service.
Can I order postcards online with envelopes?
Yes. You can choose standard white envelopes or heavier premium ones, with one for every card, or order the cards without envelopes.